A DIY Guide to Changing Your Car’s Differential Fluid
Taking care of your car is important to make sure it runs at its best and for a long time. One crucial and often overlooked part of vehicle maintenance is changing the differential fluid regularly.
If you don’t know, the differential distributes power between the wheels for smoother turns and better traction. In this article, we are going to take you step by step on how you can change your car’s differential fluid by yourself so your vehicle performs at its best.
Understanding the Differential
Before we dive deep into the steps you need to follow, let us tell you what a differential fluid is and what it does for your vehicle.
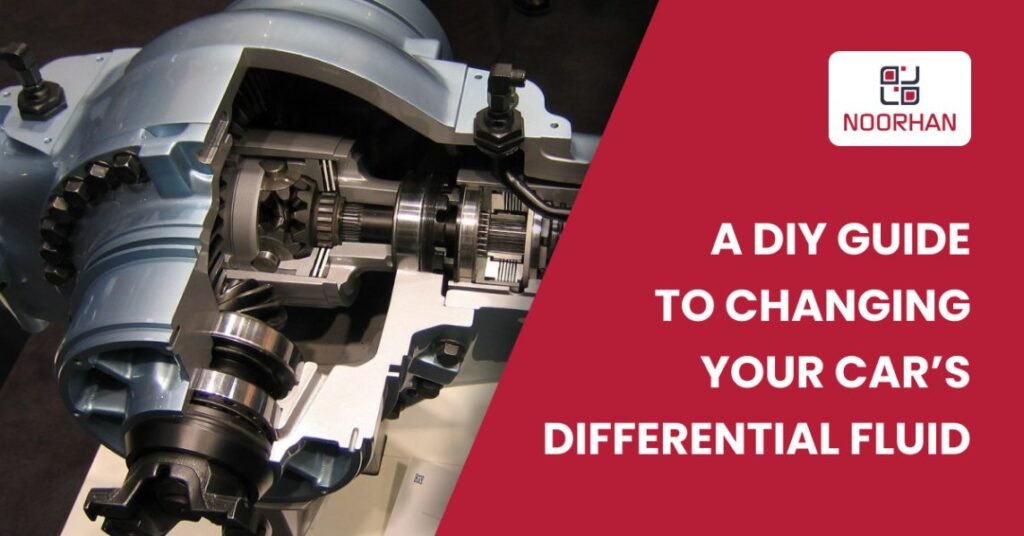
The differential is a device located in your car’s drivetrain and helps in distributing/transferring power from the engine to the wheels. It ensures smooth cornering and reduces tire wear by allowing the wheels to spin at various speeds when turning.
Differentials are available in three different types: open, limited-slip, and locking. Out of these three types, the open differential is the most common allowing the wheels to rotate at different speeds. Limited-slip differentials offer resistance against this speed differentiation to give better traction. On the contrary, locking differentials fully lock the wheels together to maximize traction in difficult or off-road driving situations
Why Change Differential Fluid?
Maintaining the general health of your car depends on routine differential fluid changes. This fluid lubricates the internal parts of the differential, thereby lowering friction and heat accumulation. As a result of contamination from dirt, debris of metal, this fluid loses its effectiveness to lubricate properly. If you don’t change this contaminated fluid, the differential components will wear out more quickly leading to expensive repairs.
You can reduce the possibility of wear and damage by making sure that the internal components are adequately lubricated by replacing the differential fluid at regular intervals. Additionally, clean fluid aids in more effective heat dissipation, extending the differential’s lifespan and enhancing performance in general.
Symptoms of Low Differential Fluid
Car fluids are crucial, and one of them is differential oil. Unusual noises or friction between the gears are telltale signs of low differential fluid levels. Pay close attention to any differences you see and conduct an immediate inspection. Applying differential oil can help to muffle vehicle noises.
- Unusual tire spinning: Low differential fluid can lead to unusual tire spinning, which can seriously harm the car. Please take caution as this damage may cause potentially deadly accidents.
- Peculiar vibration: Your car’s differential may be alerting you to the need for oil if you start to experience peculiar sensations. It would be wise to take your car to a competent service provider and have the problems fixed to prevent any accidents.
Strange smells and noises: Keep an eye out for burning smells and sounds. A whining sound coming from your car could be the result of increased friction in the differentials. In addition, there may be a gearbox leak.

Car Troubles? Show it to the experts!
Pick up
Service
Drop Off
Get 10% OFF on Sign Up
Steps to Check Your Car’s Differential Fluid
In case you discover any of the aforementioned symptoms or an exterior differential leak, it is usually a good idea to check the differential fluid level.
Before you begin with the process, make sure you have access to the tools such as safety glasses, gloves, an oil drain pan and this guide to make this DIY a success.
Step 1: Jacking Up the Car
First, you’ll have to carefully raise your car above the ground level as the differential is located underneath your car. Use the jack to lift the car carefully until the wheels come off the ground. After the automobile has been raised, place the jack stands underneath the chassis to give it more stability and support.
Keep in mind that working beneath a car can be risky, so always use jack stands to keep the car from toppling. The vehicle’s weight should never be supported by a hydraulic jack alone.
Step 2: Locating the Differential
In cars with rear-wheel drive, the differential is usually found on the back axle; in cars with front-wheel drive, it is found on the front axle. It can occasionally be encountered on cars with four or all-wheel drive. To find out where the differential is located particularly in your car, consult the owner’s manual.
After you’ve located the differential, make sure you have enough room to work securely and comfortably.
Step 3: Draining the Old Fluid
It’s time to remove the old fluid after you’ve located the differential and assembled the required tools. Observe these detailed instructions:
- Place a catch-all pan underneath the differential to collect the used fluid.
- Look for the drain plug for the differential. Usually, it’s found near the differential housing’s bottom.
- With a wrench or socket set, carefully remove the drain plug and let the old fluid run out entirely into the pan.
- Check the drain plug for wear or damage while the fluid is draining. Replace it with a new one if required.
It’s important to dispose of the old differential fluid properly. For information on appropriate disposal techniques in your area, speak with the recycling centre or auto parts store in your community.
Step 4: Inspecting the Differential
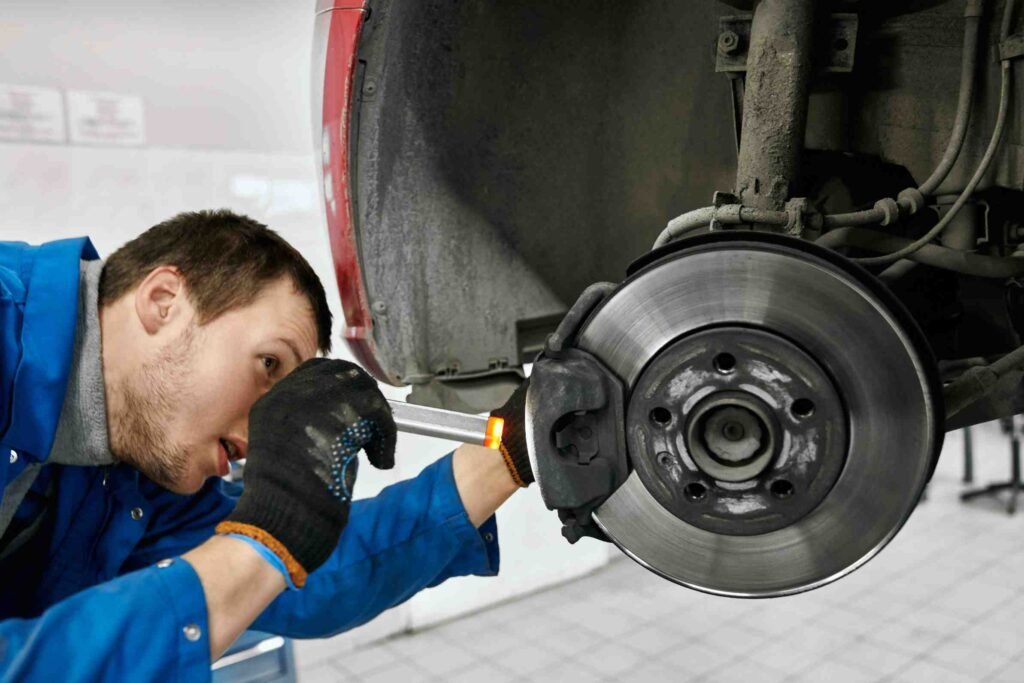
As the contaminated fluid is draining out, utilise your time to check the differential components for any signs of damage or excessive wear. You may look for cracks, leaks, or any unique issues that might need more attention. If you notice any problems, don’t leave them hanging. Rather, address them promptly as these issues can affect the performance and longevity of your differential.
Step 5: Refilling with New Fluid
It’s time to replace the differential with new fluid after the old one has been completely emptied and examined. To guarantee an appropriate replenishment, take these actions:
- Look for the fill plug in the differential. Usually found on the housing higher up than the drain plug.
- Pour the necessary amount of fresh differential fluid into the fill hole carefully using a funnel.
- Add the liquid gradually, watching the level every so often. Once the level hits the fill hole’s bottom, stop pouring.
- The fill plug should be replaced after being torqued to the manufacturer’s specifications. Leaks or other damage may occur if the plug is over-tightened or under-tightened.
Step 6: Choosing the Appropriate Torque
It’s a good idea to tighten the drain and fill plugs in accordance with the torque specifications advised by the car’s manufacturer to guarantee a tight and leak-free seal. Using a reliable torque wrench, snug up the plugs with just the proper amount of force, being careful not to overtighten and ruin the threads.
Step 7: Put the Differential Bits Back Together
Now that the differential fluid has been properly replaced, it’s time to return all of those parts to their proper locations. Take your time doing this task. Before you call it a day, make sure all of the bolts are tight. After you’re positive that everything is back in its proper position, use the jack to carefully lower your automobile on all four wheels.
Step 8: Conduct a Final Review
It’s important to test your differential after the fluid switcheroo and reassembly. Give your car a quick test drive while keeping an eye out for any odd noises or sensations. It is advisable to get expert guidance if you suspect an issue.
Step 9: Maintaining Consistent Upkeep
Replacing your old differential fluid with new is a smart idea if you want to keep your differential in good working order. Depending on the kind of vehicle and how you operate it, the frequency of these fluid changes may change. For information on the manufacturer’s suggested maintenance schedule, go to the owner’s manual for your vehicle. This small maintenance task will keep your automobile in excellent shape and ultimately save you a ton of money.
In Summary
The differential fluid in your automobile needs to be changed on a regular basis. It’s a reasonably simple but important maintenance operation. You can keep your differential well-lubricated, protected from corrosion, and performing at its best according to this step-by-step guidance. Your hard work will pay off in the form of a longer differential lifespan and a much-needed break from the spectre of future expensive maintenance.
Additional Tips and FAQs
You can change the differential fluid on your own if you have access to the necessary tools and know how to go about it. This guide will walk you through the steps to make the process easier for you. However, if you’re feeling even a tiny bit doubtful about doing this task on your own, you should consult an experienced professional.
Absolutely not. It is important to use the correct type of gear oil as recommended by your car’s manufacturer. If you use the wrong oil, it might damage the differential components.


